Creating Digital Twins
Create a Digital Twin
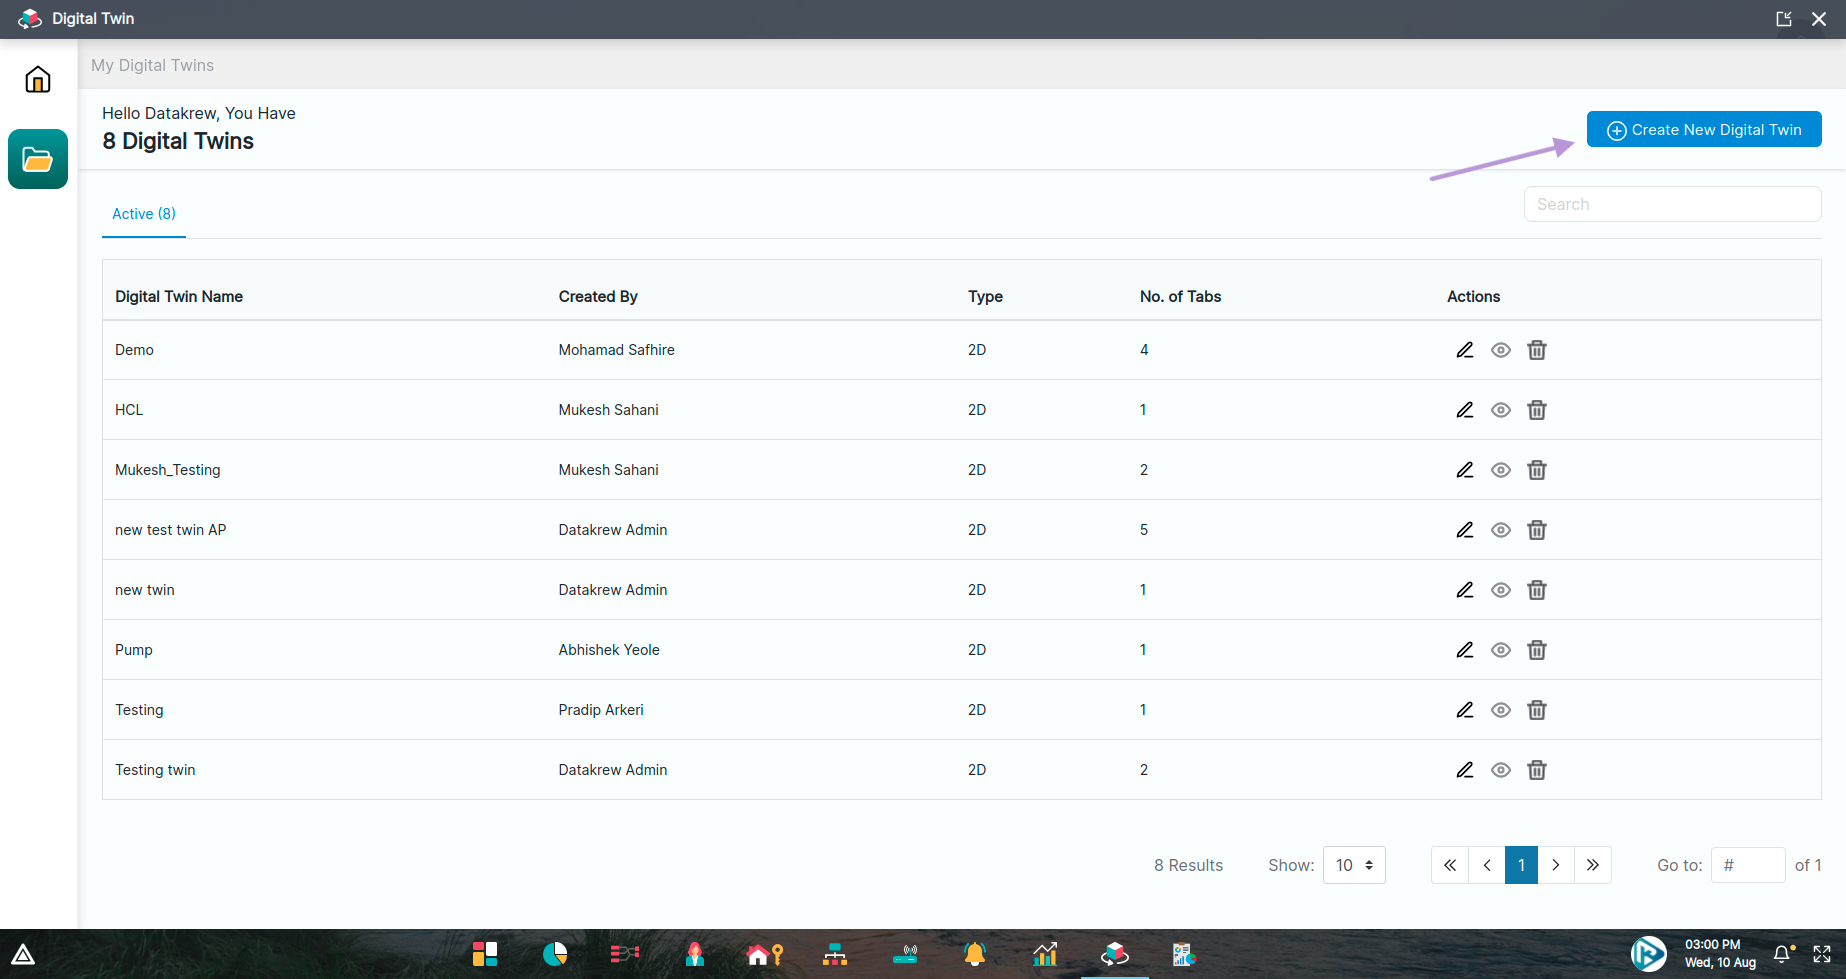
To create a Digital Twin, click on the Create New Digital Twin button as shown in below image.
Clicking on it will open a sidebar like shown in below image. Enter name of new Digital Twin and then click Done button.

Once we click on Done button, detail page will open as shown in below image. Here we can see the sidebar on the left and editor on the right side. There are two modes - Edit and Preview.
Once we land on detail page, by default it shows Preview mode where we can do read only operations. To enable Edit mode, click on the Edit button on the top right.

So once we click on Edit button, we will see few more icons on the header section as shown in below image. We can see the names of these icons on hover.
These icons mean the following (L to R):
Creating Tabs
As we can see in below image, Home is the default tab. To add a new tab, click +Add New Tab button.

Once +Add New Tab button is clicked, a modal will open as shown in below image. Here add name and icon for the new tab. Click on Save button.

We can see our newly created tab in the left as shown in below image. We can delete and edit a tab except default one.

Once we click on edit tab icon, we will see a similar modal as shown in below image. Here we can edit tab name and icon.

Once we are done with our changes, we can save the tab via Save button on the top right as shown in below image.
